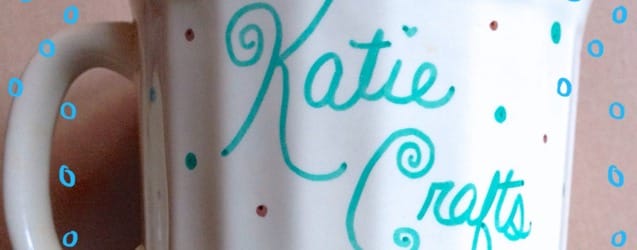
Project: DIY Sharpie Mug
Need a last minute gift for a co-worker before tomorrow? Grab an unused plain coffee cup and a few Sharpie markers and make your friend a personalized mug for their desk! Bonus: Since it’s homemade just for them, they’ll feel extra special and not at all think that you scraped it together last minute.
I made everyone a personalized mug for Christmas one year, filling them with hot chocolate, marshmallows, candy canes and scratch off tickets. It took me awhile, since I was making over a dozen, but they came out really cute! I vowed to remember the easy DIY for future use, and now I’ll share it with you!
Materials:
- Ceramic coffee cup that can withstand heat (should say on the bottom of the mug “oven safe”)
- Sharpie markers (or another permanent brand) in various colors
- Oven
- Cookie sheet
Instructions:
- Pre-heat your oven to 350º Fahrenheit.
- While your oven is heating up, use your Sharpie markers to decorate the mug! You can write “Happy Birthday, Sean!” on it, or “Happy Easter, Kelly!” Whatever your heart desires. Nix wording all together and do a pretty intricate design if that’s what you’re in to. I love brown and blue together and I super love polka dots, so that’s what I went with. 🙂

- When finished, put the mug on a cookie sheet and place in oven for 30 minutes to “cure” it.

- After the half hour of baking, carefully remove the hot cookie sheet and let it cool completely.
- Once it’s cooled, it’s ready for use.
- Make sure to tell the receiver of this awesome gift that it’s hand wash ONLY (dishwasher may take off the design), and not to use anything crazy like a steel wool pad that will surely scrub off the marker. Otherwise, your design will hold up pretty well!
I know you guys will come up with fun designs for this easy project! Share them if you like!

I still use my bowl you made me last Christmas all the time! It’s my favorite cereal bowl! 😀
😀